
7 Ways to Master Garden Space Planning and Transform Your Yard
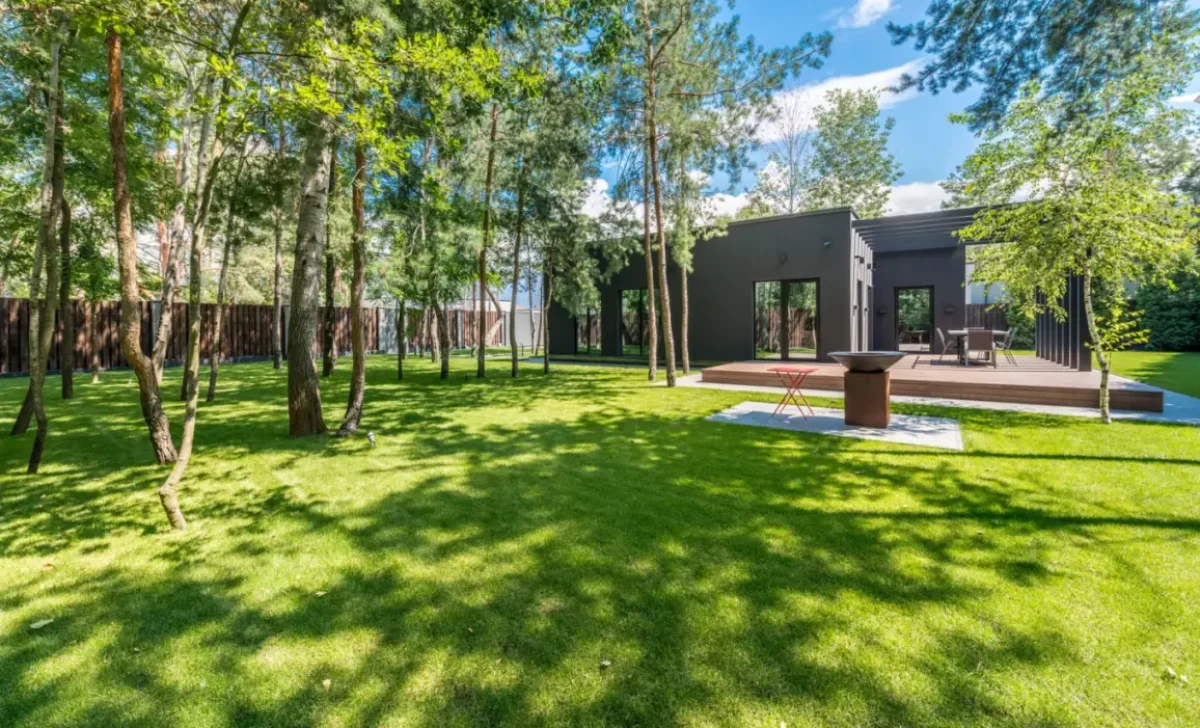
You’ve just hauled a boot full of plants back from the garden centre, and now you’re pacing the lawn with a lavender pot in each hand. The tags say ‘full sun,’ but you have no idea which corner gets any.
Most gardens come together this way, one impulse buy at a time. And a few years later, you end up with a patio in permanent shade and a vegetable bed sitting in a puddle.
So, before anything goes in the ground, let’s work through these seven ways in order. You’ll go from a blank patch to a layout you’ll enjoy using all year round.
1. Measure and Map What You Already Have
Grab a tape measure, a notepad, and some graph paper before you start digging into the ground. Measure every boundary and sketch the outline to scale, with one square on the paper equal to half a metre.
Next, mark everything you can’t easily move on your own. This includes manhole covers, drains, outside taps, sheds, mature trees, and the back door.
Getting these details on paper early saves serious money down the line. If you lay a patio directly over a drain cover, you’ll have to tear up the slabs the first time your drains are blocked, and that’s a costly way to rediscover an inspection chamber.
Be prepared for a few surprises while mapping your site. It’s remarkably common to start digging a new border, only to strike an old concrete path or buried builder’s rubble hidden just under the turf.
Keep this map somewhere safe, because you’ll use it in every step that follows.
2. Track the Sun and Shade Through the Day
With your outline drawn, it’s time to map the movement of light. Walk outside at 9 am, midday, and 6 pm to see where the shadows fall, then shade in the dark spots on your plan.
Your garden’s aspect, the direction it faces, plays a huge role here. South-facing gardens get the most sun throughout the day, while north-facing ones stay shaded near the house for much of the year.
And don’t forget the winter. From October to February, the sun sits so low that a standard 1.8-metre fence can cast a shadow several metres across your lawn.
If possible, repeat this check in both midsummer and midwinter. Comparing the two maps will reveal your best sunny sitting spots, ideal planting areas, and the damp corners where only moss will thrive.
3. Test Your Soil Before You Plant Anything
Now that you’ve mapped the light, it’s time to check your ground conditions. A pH testing kit from any garden centre will show you whether your soil is acidic, neutral, or alkaline.
For drainage, make sure to dig a hole about 30cm deep and fill it with water. Once it drains, fill it again and time how long the second amount takes to disappear.
If the water is still standing after a few hours, you have poor drainage. That’s a clear warning sign to keep vegetable beds and patios out of that area.
Across London and much of the South East, heavy clay is the usual culprit. It holds water all winter, then shrinks and cracks wide open during a dry July.
Chalky soils further south drain quickly, but they tend to be alkaline, while sandy soils let water rush straight through. Add these findings to your site plan. Knowing where water pools early on stops you from making costly design mistakes later.
4. Decide How You Want to Use Your Space
Once you know your site’s constraints, it’s time to define your goals. Write down everything you’d like to use the space for, from hosting dinners and storing tools to setting up a kids’ play zone.
Most first drafts are overly ambitious. Squeezing a hot tub, an outdoor kitchen, fruit trees, and a play area into a small garden only creates a cluttered, unusable layout.
So, rank everything in order of how often you’ll use it. For example, a dining spot you’ll use every summer evening deserves more space than a fire pit you’ll light twice a year.
Be honest about maintenance, too. If you want to spend your weekends relaxing, high-maintenance flower borders that require weekly weeding shouldn’t be a priority.
5. Divide the Garden into Practical Zones
This is the step where your map, your notes, and your wish list finally come together. Slot each key feature into your site plan based on where the sun hits and how the soil behaves.
Place outdoor seating in the path of the late-afternoon sun. Meanwhile, save the warmest spot with good drainage for your vegetable patch and light-hungry perennials.
A play area works best within sight of the kitchen window, so you can keep an eye on the little ones while you cook. As for storage, tuck the shed or bin store into the shadiest corner, where little else will grow.
Sorting out these areas on paper will help you avoid the costliest mistakes. Build a deck in the one damp, shady patch of your garden, and you’ll be stepping onto green, slippery boards by the second winter.
If you have an awkward plot or simply can’t make everything fit, professional help with garden space planning will give you a workable scale design before a single slab is laid.
6. Plan Paths That Connect Each Area
Now it’s time to connect the dots. Pay attention to the natural footpaths you already use, like the shortcut across the lawn to the shed or washing line.
Build your paths along these natural routes. If you lay a decorative winding path somewhere else, people will just cut across the lawn anyway, leaving you with a muddy shortcut running right next to an unused walkway.
And don’t skimp on width either. Keep main paths around 1.2 metres wide for two-abreast walking, and ensure secondary routes are at least 90cm to comfortably clear a wheelbarrow or dustbin.
Match the material to the function. Gravel works brilliantly for secondary paths, utility areas, and heavy clay soil, while paving or timber decking is best suited for dining zones and main house entrances.
And if you’re redesigning a front garden, check the rules first. In England, paving more than five square metres with impermeable materials requires planning permission, so permeable block paving or gravel is the easier option.
7. Choose Plants That Suit Each Zone
Planting comes last for a reason: your site map now dictates the plant list. Match species directly to your recorded conditions.
For example, use ferns and hostas for north-facing shade, and lavender or rosemary for hot, dry spots that would roast anything else.
Heavy clay takes effort to dig, but it holds nutrients well and suits plants like roses, hydrangeas, and hardy geraniums, provided the drainage is sound.
Always check mature height and spread on the tag. That tiny Leyland cypress in a 2-litre pot can reach fifteen metres if left unpruned, shading half your garden and prompting a very cold conversation with the neighbours.
Finally, layer your beds for depth: tall shrubs at the back, mid-height perennials, and groundcover up front. Weave evergreens through each layer. This keeps the garden’s outline intact even when deciduous plants drop their leaves for the season.
Conclusion
Congratulations on planning your garden the smart way! This time, every plant in that boot will have a spot waiting for it before you even open the hatchback. Now get outside and enjoy a garden you’ll love stepping into every single day.
