
How to Clean Up Household Spills Safely and Prevent Moisture Damage
Household spills take all kinds of forms, a tipped glass of juice, a leaking washing machine hose, muddy footprints dragged across a hallway. Some of these are minor annoyances you forget about within minutes; others pose real risks to flooring, electronics, or indoor air quality if they’re left alone too long.
Handling them well comes down to a handful of consistent principles: figuring out what you’re actually dealing with, protecting people and surfaces from harm, getting rid of moisture quickly, and taking steps so the same problem doesn’t crop up again.
Many households keep separate tools on hand for different messes, a standard vacuum for dry debris and a wet & dry vacuum for liquids, but it’s worth double-checking that whatever device you reach for is actually rated for the material you’re cleaning before you switch it on.
Identify the Spill Before Cleaning
Assess the liquid and surrounding area
Not every spill calls for the same response. Clean water, food and drink spills, mud, grease, cleaning chemicals, and contaminated water such as sewage or floodwater all demand different handling.
What the liquid is made of affects which cleaning products are safe, whether you need protective gear, and how you dispose of the materials you use afterward. If you’re not sure what you’re looking at, or there’s any chance it’s contaminated, take a moment to identify the liquid before diving in rather than treating it like just another ordinary spill.
Check for immediate hazards
Before you start cleaning, scan the area for electrical cords, outlets, appliances, broken glass, or furniture that looks unsteady. Protect against electrical hazards by never touching electrical components while standing in water, and only unplug equipment when it’s safe to do so.
Significant flooding, suspected electrical problems, sewage, or hazardous chemicals are all situations where calling in a qualified professional makes more sense than attempting a DIY fix.
Prepare the Area and Choose Suitable Equipment
Contain the spill
Keep children and pets well away from the affected area, and set up a warning sign or barrier if the floor has become slippery. If you can, stop the source first, shut off a tap, move a leaking container and shield nearby rugs or other porous materials from further moisture.
Match the tool to the task
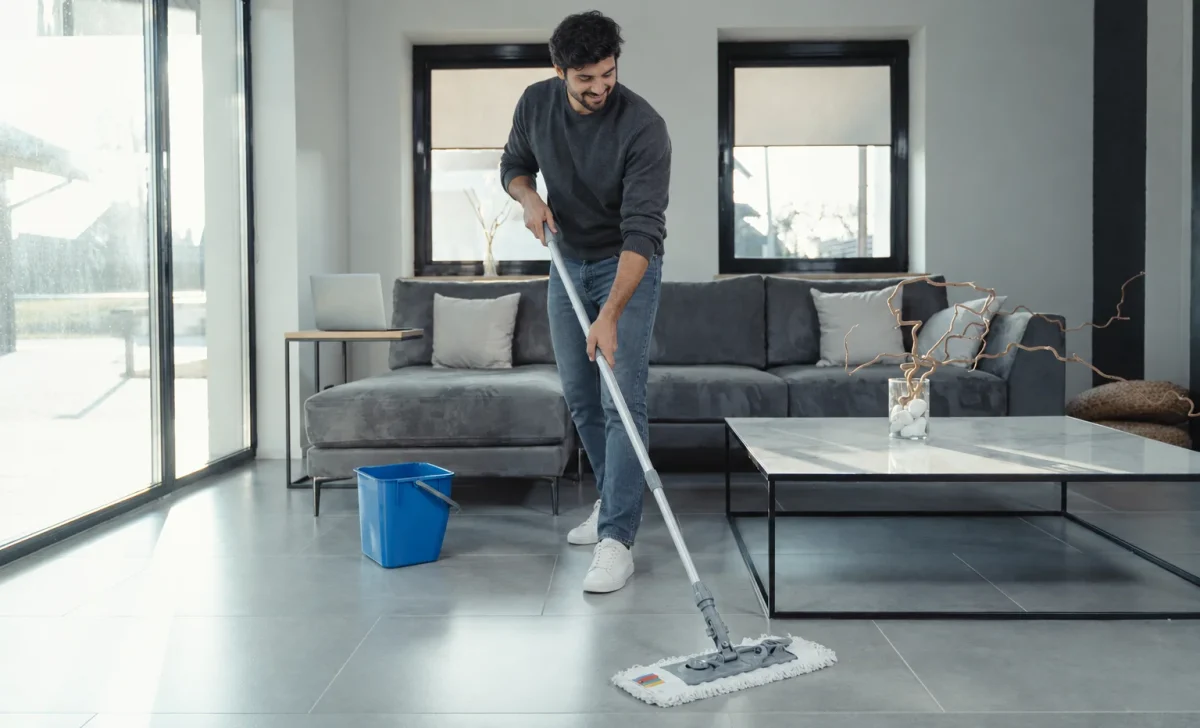
Cloths and towels handle small spills just fine, mops are suited to hard floors, and dry vacuums should be reserved strictly for dry debris.
Equipment built for liquid pickup falls into its own category, and it’s worth checking the manufacturer’s instructions for attachments, filters, and capacity limits using a tool outside what it’s designed for can create a shock risk, damage the machine, or spread contamination even further.
Before You Start checklist:
- Identify the liquid
- Isolate hazards
- Protect people and pets
- Select a suitable tool
- Check product instructions
A Step-by-Step Method for Cleaning Small Household Spills
Remove loose debris first. Pick up sharp objects by hand only when it’s safe to do so, and wear gloves if there’s any chance the material is contaminated.
Remove the bulk of the liquid. Blot small spills rather than rubbing them, working from the outside edge inward so the mess doesn’t spread further. For larger volumes, stick to equipment that’s explicitly approved for liquid collection.
Clean the surface with a product suited to the material involved. Cleaning and disinfecting aren’t the same thing, cleaning removes dirt and many contaminants, while disinfecting serves a separate purpose.
Clean visibly dirty surfaces first when disinfection is genuinely needed, and never mix cleaning chemicals unless the label specifically says it’s safe to do so.
Rinse away residue where it makes sense to, since leftover detergent can attract dirt or damage certain finishes over time. Go easy on water around wood, laminate seams, or unsealed stone.
Dry the area completely, using fans or ventilation to speed things along. A spilled drink on tile, for instance, can usually be wiped up and air-dried in no time, while muddy water on carpet might need considerably longer to avoid trapping moisture underneath.
Key Takeaway: Prompt removal of liquid is only part of the process. The area must also be cleaned appropriately and dried thoroughly.
Adjust the Method for Different Flooring and Materials
Sealed tile, vinyl, and stone generally hold up fine to damp cleaning, though grout lines have a way of holding onto moisture longer than you’d expect. Wood and laminate need to stay as dry as possible, since water that works its way into the joints can cause swelling or warping.
Carpet and upholstery can trap moisture well beneath a surface that feels perfectly dry to the touch, so it’s worth having a professional take a look after any major spill. And liquids should never be applied directly to electronics, disconnect them only when it’s safe, and follow the manufacturer’s guidance for cleaning.
Cleaning, Disinfecting, and Preventing Cross-Contamination
Cleaning removes dirt and some germs, sanitizing reduces germs to a specified level, and disinfecting targets specific pathogens with an approved product. Routine disinfection isn’t necessary after every spill, but it’s worth doing during a household illness or on surfaces that get touched constantly.
The CDC recommends cleaning visibly soiled surfaces before disinfecting them and making sure there’s adequate ventilation whenever you’re using chemical products. It also helps to keep separate cloths for bathrooms and kitchens, wash your hands once you’re done, and dispose of any contaminated materials safely.
When a Spill Requires Professional Help
Some situations go beyond what routine cleanup can handle: sewage contamination, a strong unidentified odor, water pooling near electrical systems, moisture that’s made its way beneath the flooring, carpet or upholstery that’s thoroughly saturated, or a musty smell that won’t go away and suggests mold.
The EPA notes that controlling moisture and humidity is central to preventing mold growth indoors. In cases like these, professional restoration services can track down hidden moisture and assess contamination far more thoroughly than household tools allow. If the damage is significant, documenting it with photos is a reasonable step to take for landlords or contractors.
Prevention Strategies for Future Spills and Moisture Problems
Preventive habits:
- Store liquids and chemicals securely in labeled containers
- Inspect hoses and appliance supply lines periodically
- Keep absorbent towels and cleaning supplies within reach
- Address leaks promptly and monitor indoor humidity
A Safer, More Deliberate Cleanup Routine
A dependable response follows a simple sequence: identify the spill, remove hazards, choose a suitable method, clean without spreading the mess, dry the area thoroughly, and call in professionals when a situation calls for it.
The most effective cleanup isn’t always the one that looks fastest, it’s the one that removes the substance safely without damaging the surface or leaving hidden moisture behind. Taking a few minutes now to review your household’s cleaning equipment and think through how you’d handle a leak can make the next spill far easier to manage.
